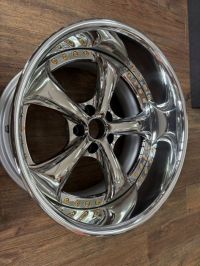
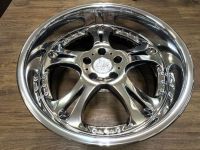
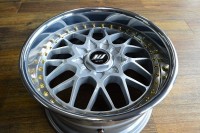
ADVAN Oni 16インチホイールをリム交換リバレル加工でj数アップ
2021年6月8日
ADVAN Oniの16インチホイール、リム交換リバレル加工で現状の8.0jから10.0jへj数アップご希望で、北海道よりご依頼いただきました。
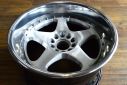
現状のサイズは、アウターリム2.0j+ディスク0.5j+インナーリム5.5jの8.0j、これをアウターリム2.0jアップの4.0jのアウターリムに交換で10.0jにします。
アウターリムとインナーリムでディスクをサンドイッチにして溶接されている3Pです。

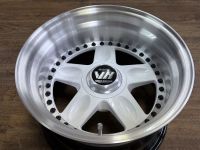
溶接跡が2段あり、上側の溶接跡が、アウターリムとディスク、下側の溶接跡がインナーリムとディスクの溶接跡、今回アウターリムを交換しますので、上側の溶接跡をカットしてアウターリムを切り離します。


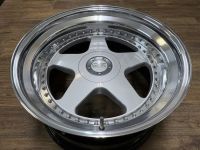
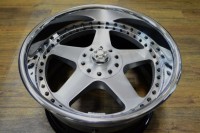
アウターリム交換以外の作業はご指示いただいておりませんでしたが、ピアスボルトとワッシャーが錆びているので、ワッシャーは新品に交換、ピアスボルトは再塗装します。


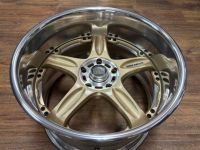
4.0jのアウターリムを組付けて完成です。


アウターリムは鏡面ポリッシュ仕上げで、鏡面の輝き重視のクリアー塗装無しです。

元々溶接されているので、再溶接を行った方が良いのかもしれませんが、今回ピアスボルトが相当数付いているので、溶接無しでも大丈夫じゃないか?と言う事でコスト削減もあり、再溶接は無し、普通のマルチピースと同じようにコーキング処理で対応しました。