Mさまのトヨタスターレット 希少なパーツの割れ修理が難航!
2024年3月22日
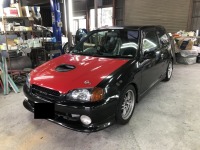
ご入庫中のMさまのトヨタスターレット
リアゲートのスポイラー修理
表面の割れ修理スタートです。


表面のヒビ割れは内部まで
到達していたのでしっかりと
掘り込んで特殊なボンドで
ガッチリ固定しパテで整形。


パテの乾燥中に
気になる箇所を発見。

針でこじってみるとバリバリ

一度埋めてもその隣がまた

恐怖の追いかけっこスタート?
何度かの追加で無事ゴール。


追加で頂いたアイラインは
缶スプレー仕様だったので
一度全て剥がして下地から
合わせてサフェーサー。
2度目でなんとか塗装可能な
レベルまでイケました♪
スペースができ次第
塗装開始します!