トヨタラッシュ 左右サイドステップのサビ除去で大穴!鉄板溶接で修理!
2016年5月27日
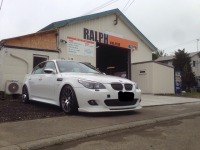
サビ修理でお預かりしているトヨタラッシュ 
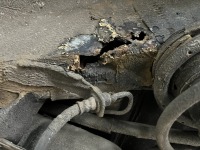
左右サイドステップ(サイドシル)のサビ除去スタート。塗装が黄色くなっている裏側は既に腐食し鉄板としては役割を果たしておりません。
ポロポロと崩れて穴となりました。


では気を取り直して穴埋めといきます。

鉄板を切って、折れ目を付けてL字(エルジ)に曲げ穴の形にし溶接

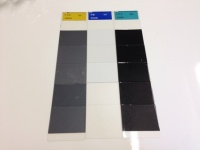
その後形を整えパテ整形・サフェーサー・塗装となります。
サビって難しい!
実際ご来店して頂いた時の状況ではここまでの浸食を予想出来ておりませんでした。((+_+))
このブログの施工過程を見たらオーナーさんは私たち以上に驚くでしょうね。
もうすでに中身はサビサビでしたので厳しいとは思いますが、少しでも長く綺麗な状態が続く事を願います。