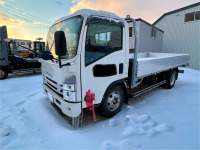
新車トヨタピクシストラックに荷台の箱・幌を加工取り付け
2020年2月27日
「荷台の箱・幌」の載せ換え作業再開です。これまで使用していた軽トラックから下ろした「荷台の箱・幌」を載せる(取り付ける)新車の軽トラック「トヨタピクシストラック」が入庫しました。


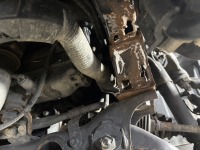
まずは、荷台のアオリと背面の鳥居を取り外します。

荷台のアオリと背面の鳥居はボルト留めとなっているので、サクッとバラし完了です。

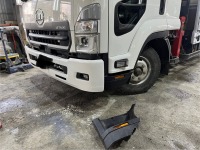
箱・幌を仮合わせします。(※我が社にはフォークリフトがあるので、作業もすんなり!)

キャビンと箱・幌の仕切りとなるアルミパネル部分の形状が少し違うので、カット・加工していきます。

ピッタリハマりました!


この箱・幌は、箱型の形状ではなく「コの字型」という事もあり、背面のアルミパネル部分が仕切りとなります。また、サイドはボルト留めで固定します。

サイドのボルトは、元々が(これまで使用していた軽トラックにて)壁から下に打ち込まれていた為、再使用は不可でしたので、アルミアングルにて新しく再形成して内側リベット留めで固定しました。

全工程完了!バッチリ仕上がりました。
只今、引き渡し前の最終仕上げ確認中です!出来上がりましたらご連絡いたしますので、あと少しお待ち下さい。