30プリウス接触事故修理!リアパネルとタイヤハウスの叩き出し修正作業
2020年7月2日
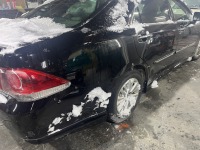
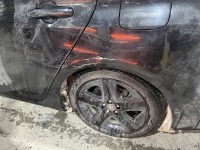
事故修理でお預かりしていますトヨタ30プリウスですが、部品が揃いましたので、作業を開始していきます。まずは、接触事故により大破したリア廻りを荒出し引き出し作業の後、外板パネル(リアフェンダー)を剥がしていきます。

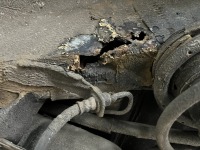
中身を見てみると、タイヤハウスがかなり前側に押し込まれており、歪みもかなりのものですね・・・

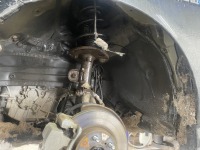
フロアサイドを剥がして、リアパネルとタイヤハウスの叩き出し修正を行います。
この時、新品パネルを合わせながらの叩き出し修正作業となります。


リアパネルとタイヤハウスの叩き出し修正修正が完了しましたので、パネル溶接・取り付けしていきます。
次回は、パネル溶接・取り付けから塗装完成まで、一気にご紹介していきます。