キャデラックエスカレードのNEXT NATIONエアロキット仮合わせ作業
2020年10月7日
キャデラックエスカレードに、社外エアロパーツのNEXT NATION(ネクストネイション)エアロキット一式を、塗装・取り付けご依頼を頂きました。


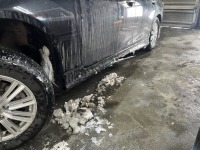
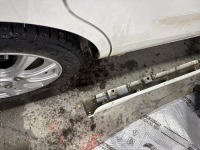
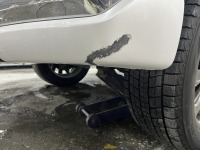
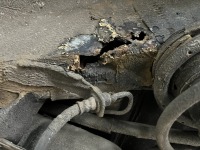
こちらのエアロキットを取り付けるには、まずは純正オーバーフェンダーを剥ぎ取らなくてはならないのですが、純正オーバーフェンダーはボンドでガッチリと固定されているため(>_<)、この作業がまたキツイ(笑)
↓見てください。このボンドの量で固定されていました。


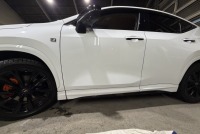
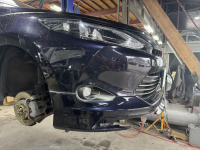
続いてエアロキットの仮合わせ作業に進みます。
こちらのメーカーの出身を調べたら・・・USAでした。そのせいなのか?エアロの作りが雑です、、、JAPAN製とは大分違う事を痛感します(笑)

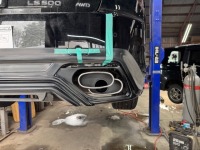
全てのパーツ(フロントスポイラー・リアスポイラー・サイドスキット・オーバーフェンダー)を仮合わせ後、少し加工して、各パーツの傷・巣穴・綻びを直していきながら、下地処理を進めていきます。
この作業についても、ベースが穴だらけなので、時間が掛かります。。。


今回はひとまずこの辺で。
続きもまたアップします。ではでは。