ポルシェマカンにLEDアンダーネオン/タイヤハウスネオンを取り付け
2020年10月16日
ポルシェマカンに、LEDタイプのアンダーネオンとタイヤハウスネオンを取り付け依頼です。
『アンダーネオンとタイヤハウスネオンを、スモールライト連動で取り付けして欲しい』というご依頼になります。


まずは、、、電源を、スモールライトのラインから確保します。

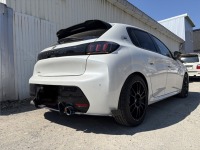
そして、、、映画ワイルドスピードみたいな感じに、腹下から道路を(前後左右に)照らすアンダーネオンを取り付けていきます。
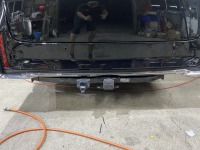
前後を照らすアンダーネオンは、隠して取り付け出来る場所が無いので、黒いカバーに仕込んで、ボディにセットします。


左右を照らすアンダーネオンは、サイドステップカバーに直接セットします。


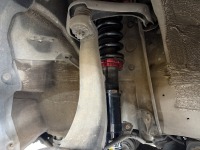
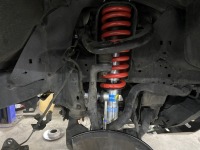
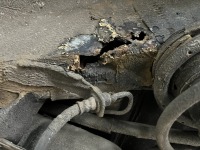
続いて、、、SUVタイプの車に人気がある、タイヤハウス内を照らすタイヤハウスネオンを取り付けていきます。
フロント側は、ショックアブソーバーに直接セットします。
リア側は、アンダーカバーにセットします。

配線を通し、全てを繋いで、点灯確認OKです。
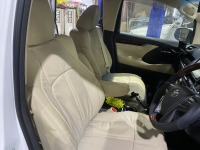
アンダーネオンは、走行中の点灯やライトカラーの問題で迷惑をかけてしまう事があるので、室内にスイッチをセットしてあります。

施工依頼ありがとうございました。