接触事故で左側面損傷したクラウンマジェスタの自動車保険修理
2023年1月17日
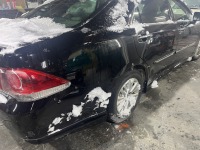
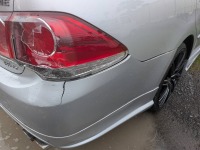
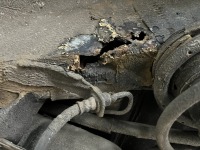
接触事故により左側面が損傷したトヨタクラウンマジェスタを自動車保険修理でお預かりしました。修理箇所は左リアドアと左リアフェンダーで、左リアドアは開閉しなくなっているほど変形しています。


まずは、新品交換する左リアドアの裏塗りを行います。

裏塗りを終えた左リアドアを組み付けて、左リアドアの外面と合うように左リアフェンダーを板金していきます。

リアフェンダーの形が整ったら、リアフェンダーの内面(リアドアに隠れる面)を先に塗装してしまいます。

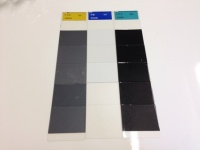
そして、ボディ左側面(左リアドア・左リアフェンダーの外面)を一気に塗装します。

塗装乾燥後に磨きをかけて、完成です。
施工依頼ありがとうございました。