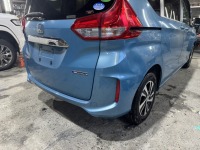
GKフィットのリアフェンダー・タイヤハウス内に発生した錆を修理!
2021年1月12日
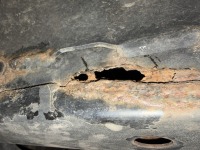
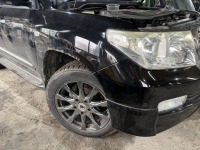
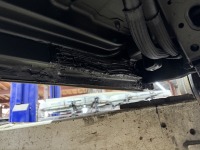
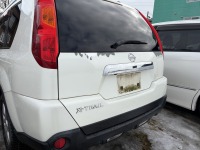
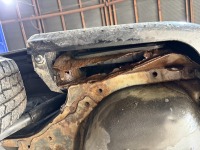
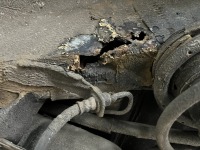
業者様よりリフレッシュ修理依頼でお預かりしています、ホンダGKフィットの作業を開始していきます。まずは、錆が発生したリアフェンダー・タイヤハウス内の修理から進めていきます。
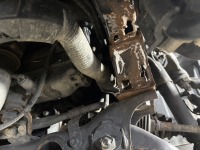
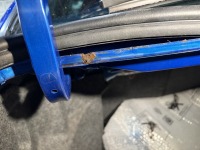
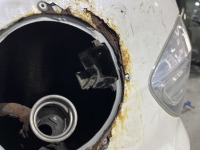
塗装を剥ぎ、錆を削り落としていきます。サビ発生初期という事もあり、表面処理のみで大半のサビは落とすことができました。細かいサビはサンドブラストし、鉄板処理しています。


パテ成形して、下地処理します。


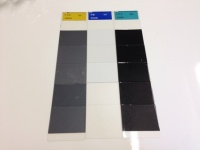
サフェーサーを塗布して、塗装に入っていきます。


塗装完了!リアフェンダー・タイヤハウス内の錆修理完了です。


錆びやすいリアフェンダー・タイヤハウス内については、錆の再発は免れませんので、早めの修理をお勧めいたします。(酷くなる前に修理ご連絡下さい。)
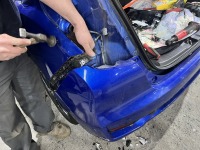
引き続き、ボンネットの修理も進めていますので、そちらは次回紹介いたします。